Sunday, June 22, 2014

Wooden Swing Tutorial

Ok this one is mine but it was similar lol


I was browsing playroom ideas a few weeks back and came acroos this adorable swing. So here's how you can make your own. Im not pricing stuff out bc it really depends on where you go and if you buy the exact amount or extra.
Ok first off, this can go indoors or out. If you use it outside you will want to use outdoor fabric and pressure treated wood. Or just dont leave it outside for extended periods. If you are hanging it inside you need to have your anchor bolt securely in a support beam.


Materials:
1" wooden dowels 16" long (4)
1 yard of sturdy canvas, decorators fabric or outdoor fabric. The thicker the better
Thread
Sewing machine
5/16" nylon rope(2-10' pieces)
lighter
rope clamp
scissors
steel ring
hammer
drill

First you will cut your fabric.
main "seat/sides" piece is 14'x36"
Back piece is 14"x11"
Front piece is 6"x11"


Pieces of fabric


fold 11" sides of the front and back pieces over 1/4" and iron. fold over another 1/4" and iron. pin and hem. then stitch over each piece again.
Fold the 36" sides of the seat piece in 1/4" and iron. Repeat.


Before you sew these down you will pin the front and back pieces centered under the folded edges.Wrong side of the front and back against the wrong side of the seat piece. Pin in place and straight stitch twice across each long side.


Fold the front and back piece out and iron. Straight stitch twice over these sections.

\Fold each raw edge in 1/4" and iron. Then fold each edge in another 2" and iron


You now have this. Stitch at least twice over each size close to the edge of the hem. I sew right on the edge of the hem then about 1/4 in from there. You now have pockets to slide the dowels into.


Set aside.


T
Take your 4 dowels and drill a hole 1" from the end on each side


Burn the ends of the 2 10' piece of rope and slide through the steel ring so you have 4-5' pieces hanging down.


Using the hammer secure the rope clamp under the ring to keep the ropes from sliding.


Slide dowels into pockets of seat. You will want the sides to be resting on top of the front/back dowels.


Thread ropes through pre-drilled holes and tie a stopper knot at the bottom of each rope.


You can sew a small 11x11 ish pilow to go in the swing. Clip a caribiner at the top of the steel ring and hang it up. All done!!!


Saturday, December 14, 2013

"Houdini" Jammies tutorial

Ok this tutorial assumes you can sew knits;) You can use a serger or regular sewing machine.  I can provide measurements for various sizes if you need them, i do have paper patterns I've drafted. Please do not recreate this pattern for profit. Thanks.

Materials:
Knit print
Knit print or solid for trim
elastic
sewing machine or serger

Ok to start with you need to find a romper or pair of footless jammies that fit your child.


 fold them in half lengthwise. Lay on top of folded fabric for body of jammies(align the folds). Cut one on fold of body. allow 1/4 inch for seam alowance and feel free to add lenth in legs(i do bc i add cuffs).


You will have a piece like this:


Keep this piece out to make the topand bottom pieces for the back. Where the scissors are is the crotch of the pants part of the front. I cut the "top" to end 1" above this point. The "bottom" i like to go 10" up bc we use cloth diapers lol. Just lay the front template on top and cut the top and bottom to match the appropriate areas.


 "top", front and "bottom"(on top of frontpiece:


Go backto the jammies to trace your arm pieces(you can actually trace onto paper to have a pattern, i already have patterns so i just cut around the jammies lol)


Arm: (cut 2 on fold)

Like I said before, I like cuffs. so I cut mycuffs and neck ribbing next. Here are all the pieces. (neck piece is 2.5"x 2/3 of neck opening; arm on 2T is 5"x2/3 of arm width; leg is 6"x2/3 of leg width but you can adjust however you like)


Start off with the "bottom" back piece(pants) sew a casing for the elastic.

Insert elastic with safety pin.
 Stitch on one side, pull snug to gather and stitch on the other side. (my elastic is 1/2-2/3 the length of this back piece)

Tale the "top" piece

Hem the bottom. You can do elastic here also, but i dont think its necessary.

Sew "top" to "front" at the TOP ONLY

Next sew the inner leg seams(crotch) with "front" laying on top of the "front"

Pink the "bottom" of the pack to the front at the top where the pants are.fold the "top" piece over and sew the side seams. It should be layered "front" on bottom, "bottom" in middle and "top" on top.

take the arm pieces

Sew the side seams, right sides together.

Sew the side seams of the arm cuffs, fold in half.

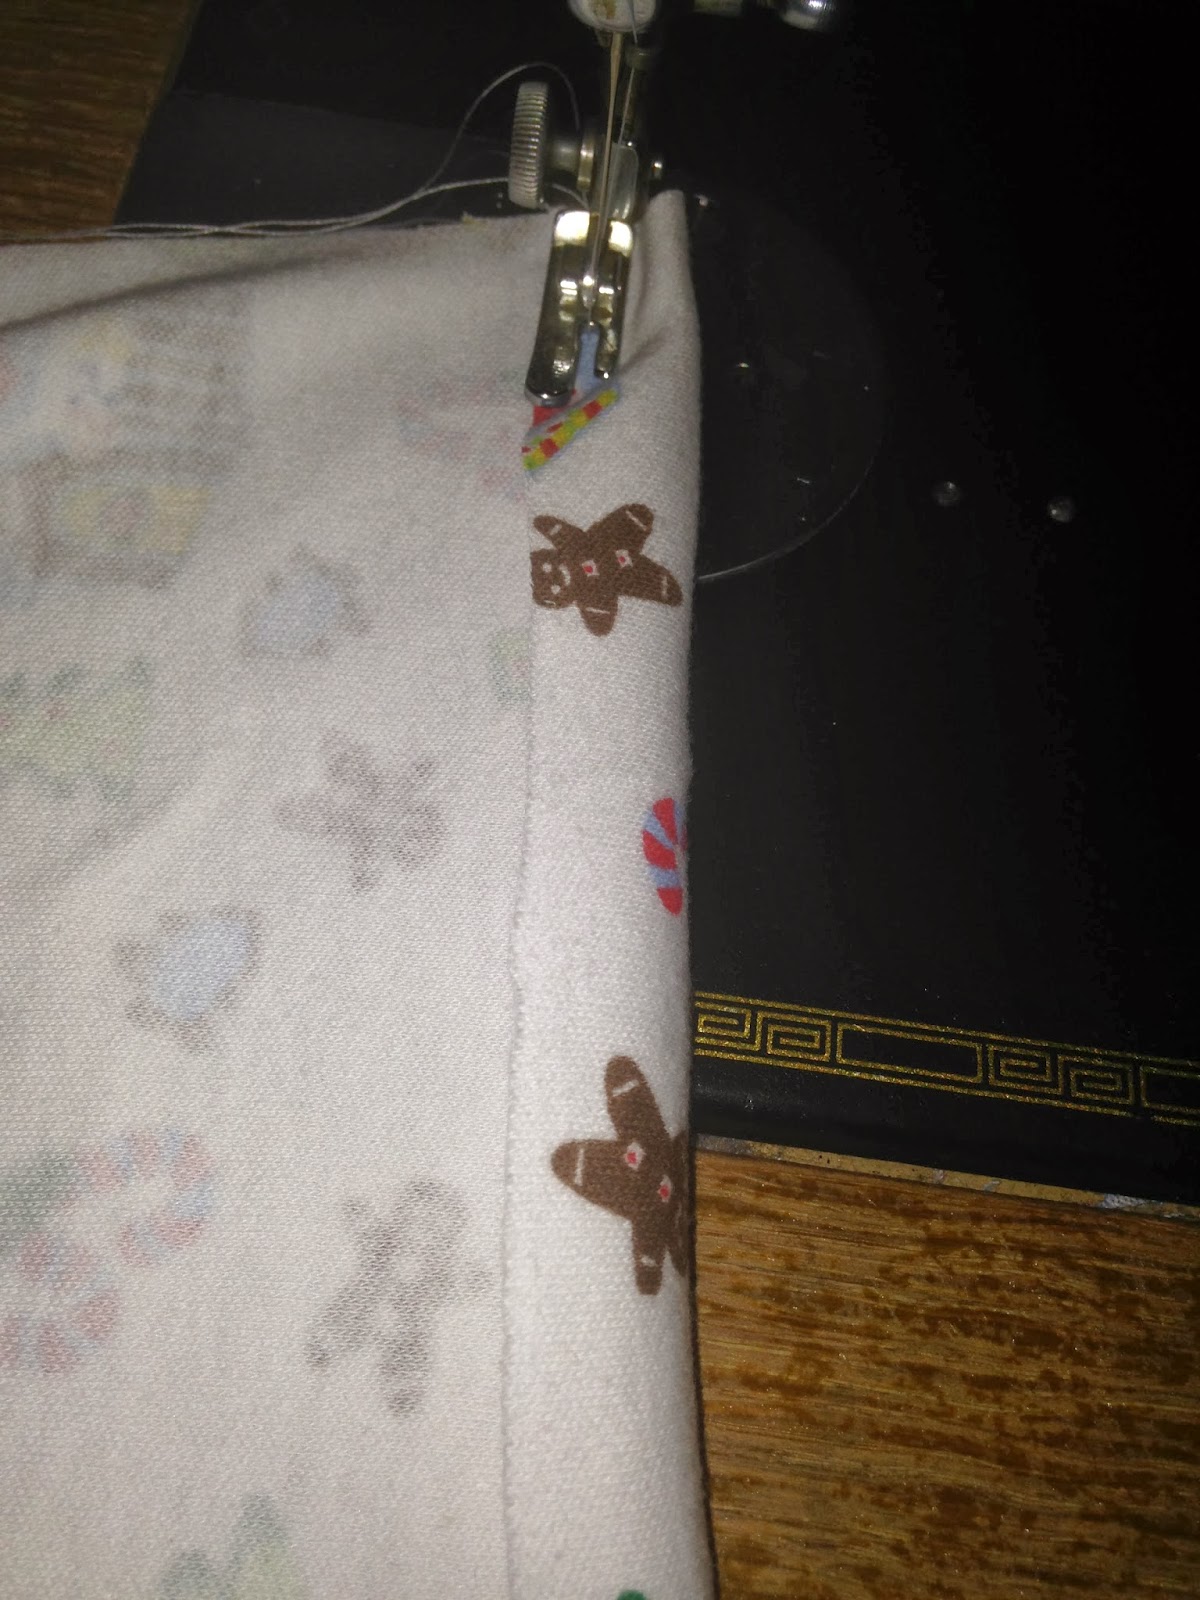
Place cuff inside of arm sleeve and sew, stretching as you sew.

Two finished sleeves.
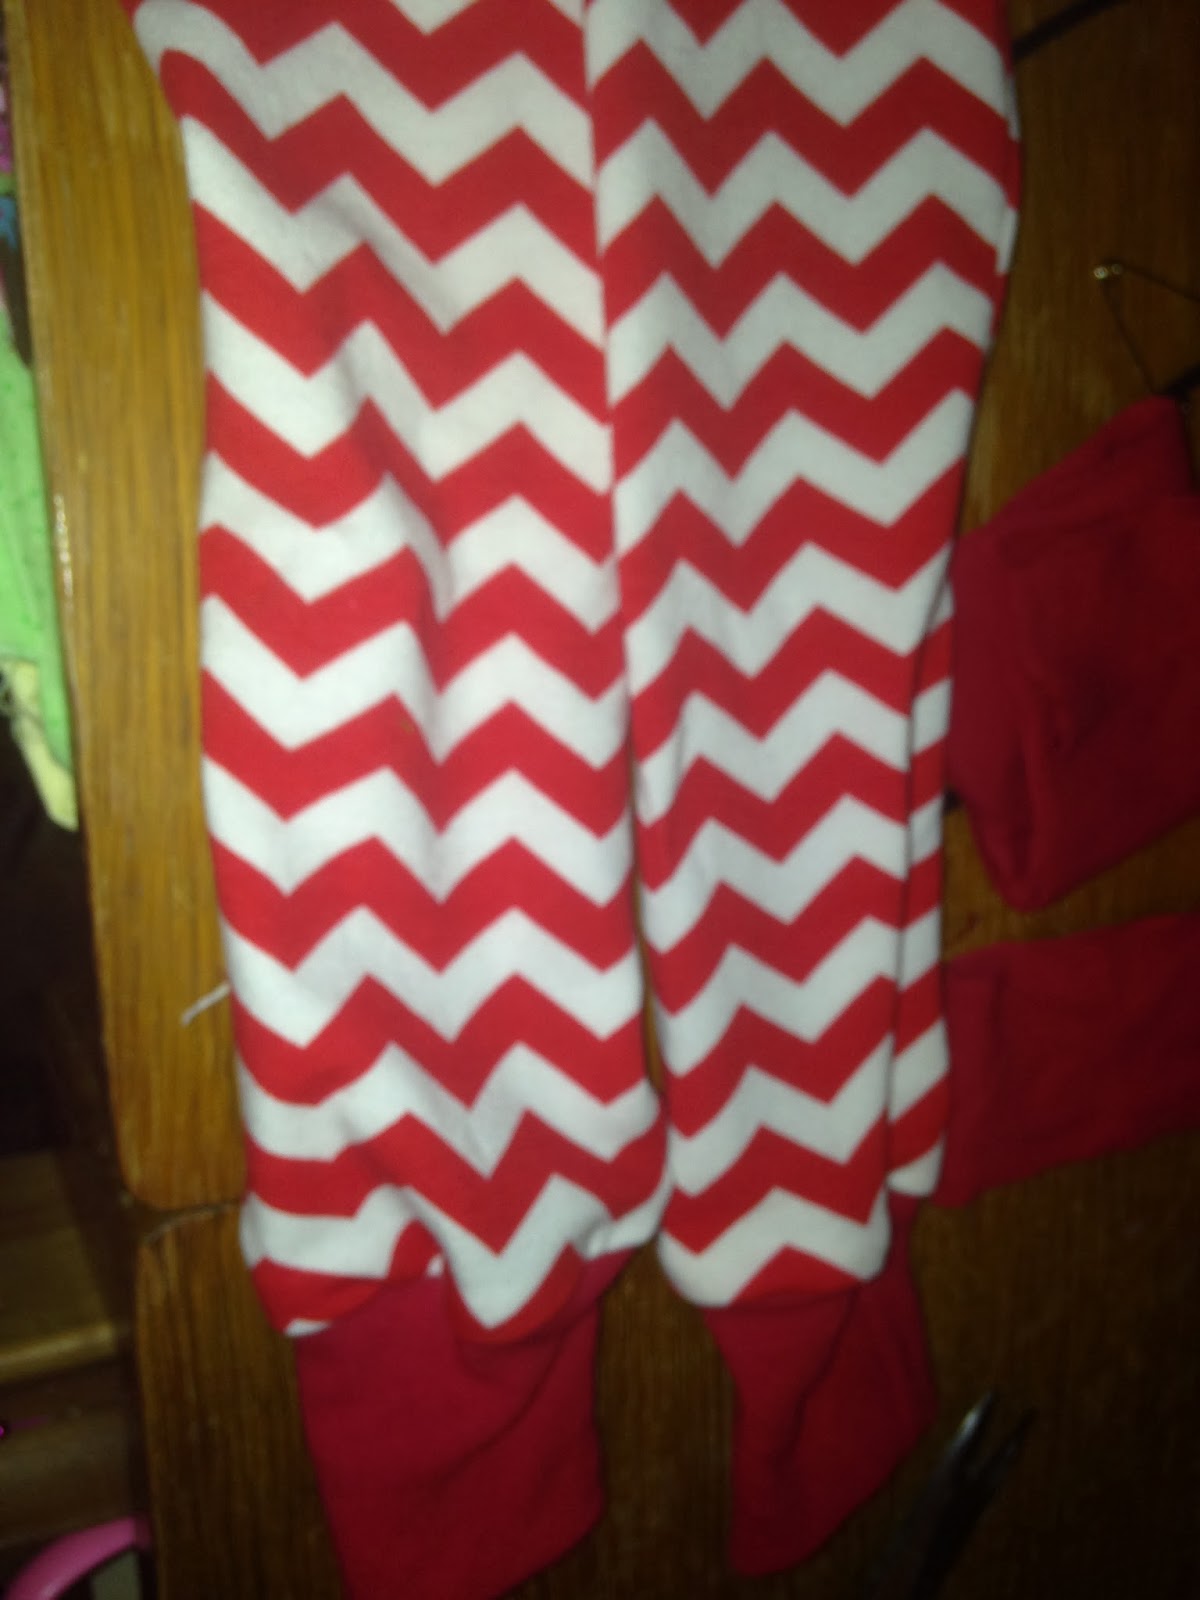
Do the same with the leg cuffs if you choose to add them.
 With jammies inside out, place rightside out sleeve inside the sleeve hole.Align raw edges and sew.
Almost finished:

Back:

Sew bindimg for the neck in a tube the same way, stretch as you sew on.
Finished jammies:


Wednesday, September 11, 2013

About MotherGoose Designs....

Today I was planning on sewing. The playroom is connected to my studio(which I just cleaned and organized yesterday) and my youngest two are perfectly content to run back and forth and swing in the doorway between the rooms......But as a mother of four, things do not always go as planned. My older two missed the bus (a regularoccurance since we are NOT morning people). Then, since I was out anyways, I figured I would return something at the store and pickup more printer ink. Go to store #1 to make the retuen, and realize I didn't even bring the items. (Like I said, not morning people lol.) So I go and get ink at another store.
As we are leaving the store my 15 month old starts screaming. Not crying, mind you, but screaming like someone just tried to pull off her arm. Of course, I start looking for anything that could have hurt her, which was very few items since she was buckled in the cart. But she is a complicated baby so there's no telling what sets her off sometimes. 15 minutes later, of which she screamed and thrashed nonstop, I found this.
Ok, no good, especially since she is very attached to this paci and its the last one from the hospital. (No, its ont 15 months old, she spent quite a few weeks in the hospital during the first year.) So obviously I cant let her have it back, it's a huge choking hazard:/ I swing by the baby store and of course they only have the colored ones, that are a different material, and she wont touch them. So she screamed all the way home. At home i tried to give her a green one, she immediately went and threw it in the toilet:/ In the midst of chaos, there is a bump on the door. No, not a knock since fedex likes to toss my packages down the hill until they hit the door, but whatever.
So we get this:

Happy baby:) (And new fabric for the store lol). No screaming since, but she has claimed that hot pink chevron minkee lol. So the halloween clothes and trainers that are in various stages of being complete will wait until tonight.
This is a typical day at MotherGoose Designs. So you may notice at times I give a 2 week turn around. This assumes we have several days like this lol. Most items will ship in a week or less, but I always err on the side of caution and predict a longer turn around, just in case.

That being said, we have lots of new items in the works. I will be stocking BottomBumpers cloth diapers, Squeez"Ems food pouches(reusable) and more:) And I will attempt to keep you updated to the changes:)

Sunday, January 1, 2012

Easy Baby Booties Tutorial

Ive made these in preemie, newborn and infant sizes and they stay on the tiniest feet♥


First you make your pattern.
Preemie- 2.5" long, 1.5" wide for bottom of shoe. 1.25" long, 1.5" wide for top of shoe. 2"x4" for cuff.
newborn- 3.5" long, 2" wide for bottom of shoe. 1.75" long, 2' wide for top of shoe. 2.5"x4" for cuff.
infant- 4.5" long, 2.5" wide for bottom of shoe. 2.25" long, 2.5" wide for top of shoe. 3"x5" for cuff.
Round the edges of the top and bottom of shoe. Stretch should go across the width of the shoe and the smaller measurement of the cuff.
Photobucket
cut out pieces
Photobucket

Fold cuff pieces in half and sew(right sides together). Fold cuff in half, hiding the seam on the inside.
Photobucket

Sew top of shoe to bottom of shoe, right sides together. Only sew along the outside, rounded edge.
Photobucket

Line seam of cuff(folded in half) up with back of shoe, with cuff inside the inside out shoe.
Photobucket

Stretch seam and sew, lining up with back of shoe and top of shoe as you sew.
Photobucket

Flip shoe right side out and fold cuff down.
Photobucket

All done
Photobucket

I choose to sew these but you can serge them also. I just feel it adds bulk on teeny tiny sizes.