Monday, November 3, 2014

DIY elephant teething lovey....

im trying to get the pattern for this uploaded, until then here are pics lol. you can probably free hand it.

Its just a little taller than the 8.5x11 paper.
Cut the ear from page 2 out of one of your farics. tape the feet bottom to page one and cut out 2(i use coordinating fabrics(minkee and fleece just bc i had them handy) theres a space marked for a tail. i folded a ribbon in half and knotted the bottom but you could use fabric or yarn or leave it off. finished pic is the minkee elephant(pink and brown) work in progress pics are an organic bamboo one. 

Pieces you should have cut out. (if you do the ear fleece like the pink elephant you can do one layer but any woven fabric do 2 and sew right sides together, turn and topstitch to avoid fraying) You also want to make sure that if you are using 2 stretchy layers you add reinforcement where you put the snaps.


attach ear to marked spot on the "front" of your elephant. baste tail on if you choose to use one. I started at the top of the back stitching the two sides together, right sides facing each other and left a small 2" hole for turning rightside out.


Use a pencil or chopstick to poke legs and trunk . topstitch all the way around.  (this one is a circus elephant...hes on his head lol)


You can add embroidery before you sew if you choose, i did not on the elephant but did on the owl and hippo.

owl, hippo, giraffe and turtle tutorials coming as soon as i can get them uploaded

Thursday, August 28, 2014

DIY reusable bowl (or plate or casserole dish) cover

So, are you tired of buying (and throwing away) plastic wrap? Wel, here's an easy and cuter alternative.

First you need your bowl, a scrap of cotton fabric just a little bigger than the lip of the bowl, a piece of rip stop nylon(i use food grade) or PUL(NOTE: PUL is actually not tested for or recommended for use with food. I do use it for personal use, but any covers i sell are nylon) and a piece of FOE(fold over elastic).


Lay your bowl, upside down on the nylon with the cotton underneath that.


Trace a circle around the bowl, about 2" bigger in diameter (i have patterns for standard bowl sizes but you can totally just eye it, it doesnt have to be exact)

Cut out both pieces and straight stitch all the way around. Use a basting stitch this is just to hold them together while you add elastic.

No pictures of sewing the FOE on, sorry. I needed both hands. But stretch the FOE as you sew. Either a long straight stitch close to the edge or a wide zig zag stitch. I add a loop of ribbon to make removing the cover easier(and so i can hang them on a hook to dry). Stretch the elastic tight as you sew. finish the ends as you normally would FOE(sew two sides together, wrong sides together. fold under end, whatever. it will fray if you dont do something though) Place on bowl. 


I machine wash mine. you can also hand wash and hang to dry. Let me know if you have any questions:)


Sunday, June 22, 2014

Wooden Swing Tutorial

Ok this one is mine but it was similar lol


I was browsing playroom ideas a few weeks back and came acroos this adorable swing. So here's how you can make your own. Im not pricing stuff out bc it really depends on where you go and if you buy the exact amount or extra.
Ok first off, this can go indoors or out. If you use it outside you will want to use outdoor fabric and pressure treated wood. Or just dont leave it outside for extended periods. If you are hanging it inside you need to have your anchor bolt securely in a support beam.


Materials:
1" wooden dowels 16" long (4)
1 yard of sturdy canvas, decorators fabric or outdoor fabric. The thicker the better
Thread
Sewing machine
5/16" nylon rope(2-10' pieces)
lighter
rope clamp
scissors
steel ring
hammer
drill

First you will cut your fabric.
main "seat/sides" piece is 14'x36"
Back piece is 14"x11"
Front piece is 6"x11"


Pieces of fabric


fold 11" sides of the front and back pieces over 1/4" and iron. fold over another 1/4" and iron. pin and hem. then stitch over each piece again.
Fold the 36" sides of the seat piece in 1/4" and iron. Repeat.


Before you sew these down you will pin the front and back pieces centered under the folded edges.Wrong side of the front and back against the wrong side of the seat piece. Pin in place and straight stitch twice across each long side.


Fold the front and back piece out and iron. Straight stitch twice over these sections.

\Fold each raw edge in 1/4" and iron. Then fold each edge in another 2" and iron


You now have this. Stitch at least twice over each size close to the edge of the hem. I sew right on the edge of the hem then about 1/4 in from there. You now have pockets to slide the dowels into.


Set aside.


T
Take your 4 dowels and drill a hole 1" from the end on each side


Burn the ends of the 2 10' piece of rope and slide through the steel ring so you have 4-5' pieces hanging down.


Using the hammer secure the rope clamp under the ring to keep the ropes from sliding.


Slide dowels into pockets of seat. You will want the sides to be resting on top of the front/back dowels.


Thread ropes through pre-drilled holes and tie a stopper knot at the bottom of each rope.


You can sew a small 11x11 ish pilow to go in the swing. Clip a caribiner at the top of the steel ring and hang it up. All done!!!


Saturday, December 14, 2013

"Houdini" Jammies tutorial

Ok this tutorial assumes you can sew knits;) You can use a serger or regular sewing machine.  I can provide measurements for various sizes if you need them, i do have paper patterns I've drafted. Please do not recreate this pattern for profit. Thanks.

Materials:
Knit print
Knit print or solid for trim
elastic
sewing machine or serger

Ok to start with you need to find a romper or pair of footless jammies that fit your child.


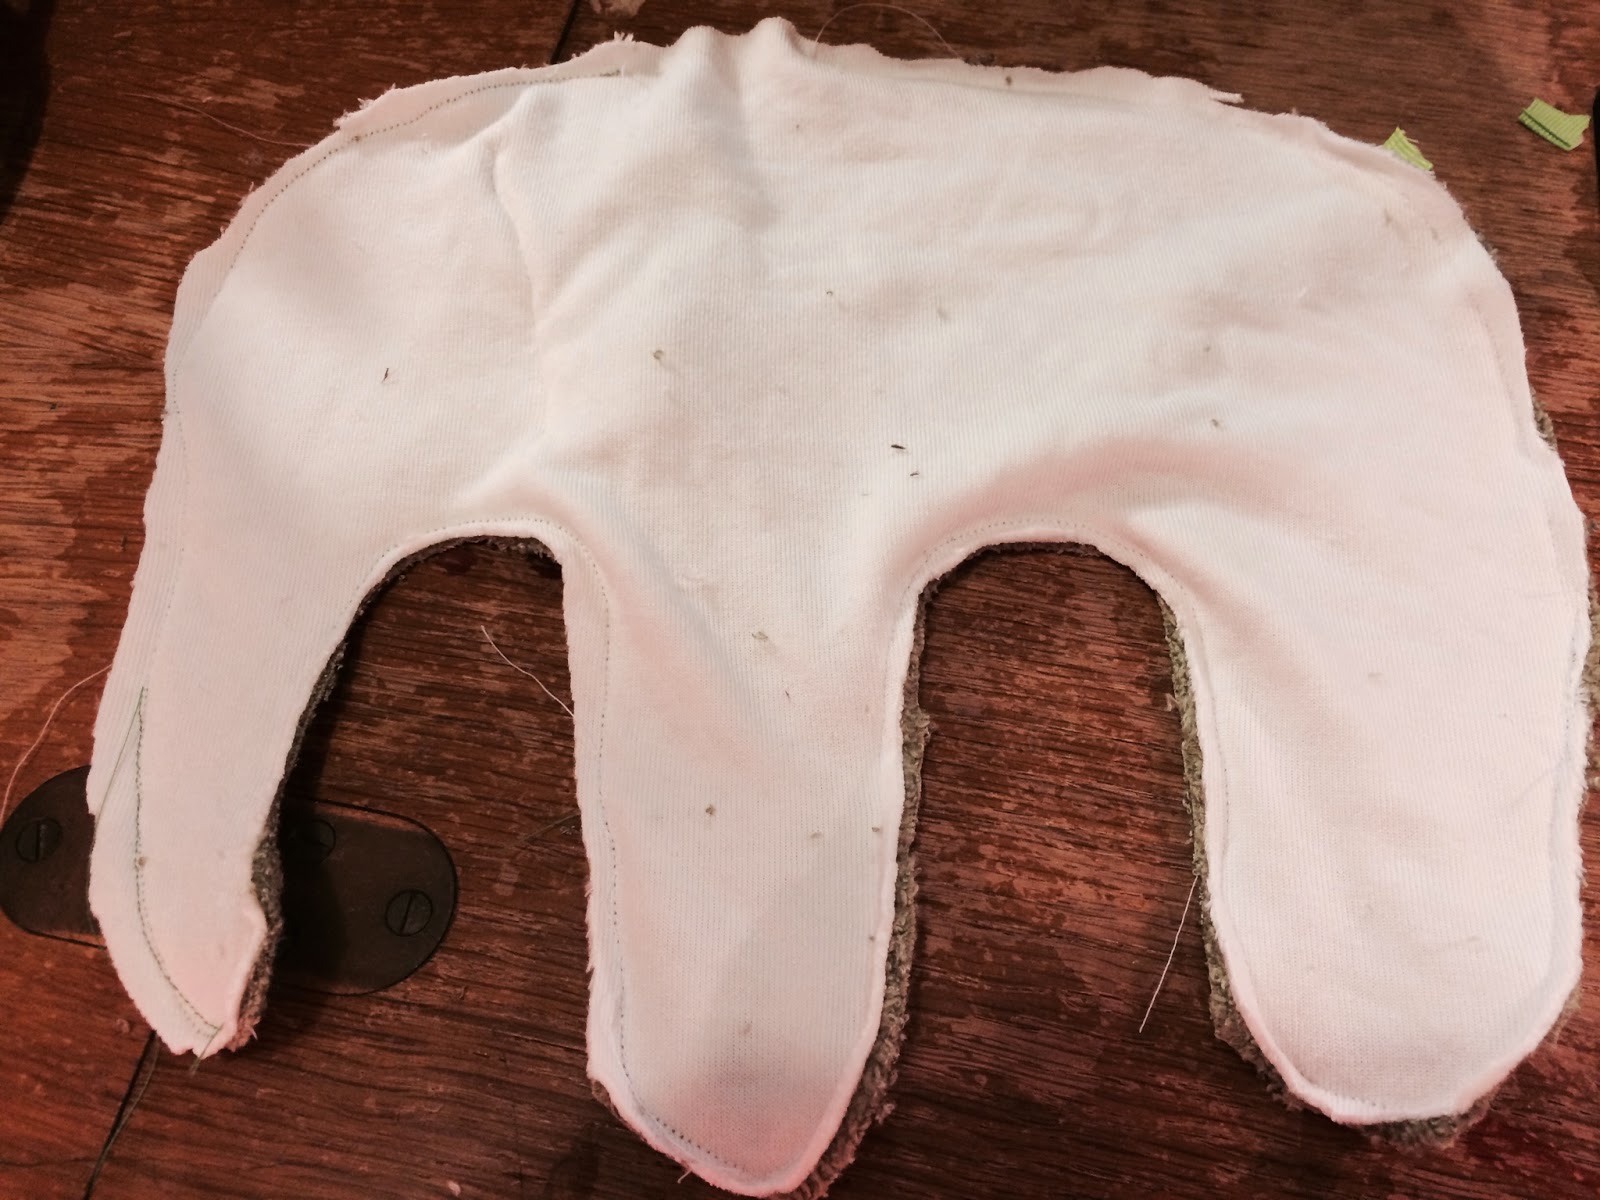
 fold them in half lengthwise. Lay on top of folded fabric for body of jammies(align the folds). Cut one on fold of body. allow 1/4 inch for seam alowance and feel free to add lenth in legs(i do bc i add cuffs).


You will have a piece like this:


Keep this piece out to make the topand bottom pieces for the back. Where the scissors are is the crotch of the pants part of the front. I cut the "top" to end 1" above this point. The "bottom" i like to go 10" up bc we use cloth diapers lol. Just lay the front template on top and cut the top and bottom to match the appropriate areas.


 "top", front and "bottom"(on top of frontpiece:


Go backto the jammies to trace your arm pieces(you can actually trace onto paper to have a pattern, i already have patterns so i just cut around the jammies lol)


Arm: (cut 2 on fold)

Like I said before, I like cuffs. so I cut mycuffs and neck ribbing next. Here are all the pieces. (neck piece is 2.5"x 2/3 of neck opening; arm on 2T is 5"x2/3 of arm width; leg is 6"x2/3 of leg width but you can adjust however you like)


Start off with the "bottom" back piece(pants) sew a casing for the elastic.

Insert elastic with safety pin.
 Stitch on one side, pull snug to gather and stitch on the other side. (my elastic is 1/2-2/3 the length of this back piece)

Tale the "top" piece

Hem the bottom. You can do elastic here also, but i dont think its necessary.

Sew "top" to "front" at the TOP ONLY

Next sew the inner leg seams(crotch) with "front" laying on top of the "front"

Pink the "bottom" of the pack to the front at the top where the pants are.fold the "top" piece over and sew the side seams. It should be layered "front" on bottom, "bottom" in middle and "top" on top.

take the arm pieces

Sew the side seams, right sides together.

Sew the side seams of the arm cuffs, fold in half.

Place cuff inside of arm sleeve and sew, stretching as you sew.

Two finished sleeves.
Do the same with the leg cuffs if you choose to add them.
 With jammies inside out, place rightside out sleeve inside the sleeve hole.Align raw edges and sew.
Almost finished:

Back:

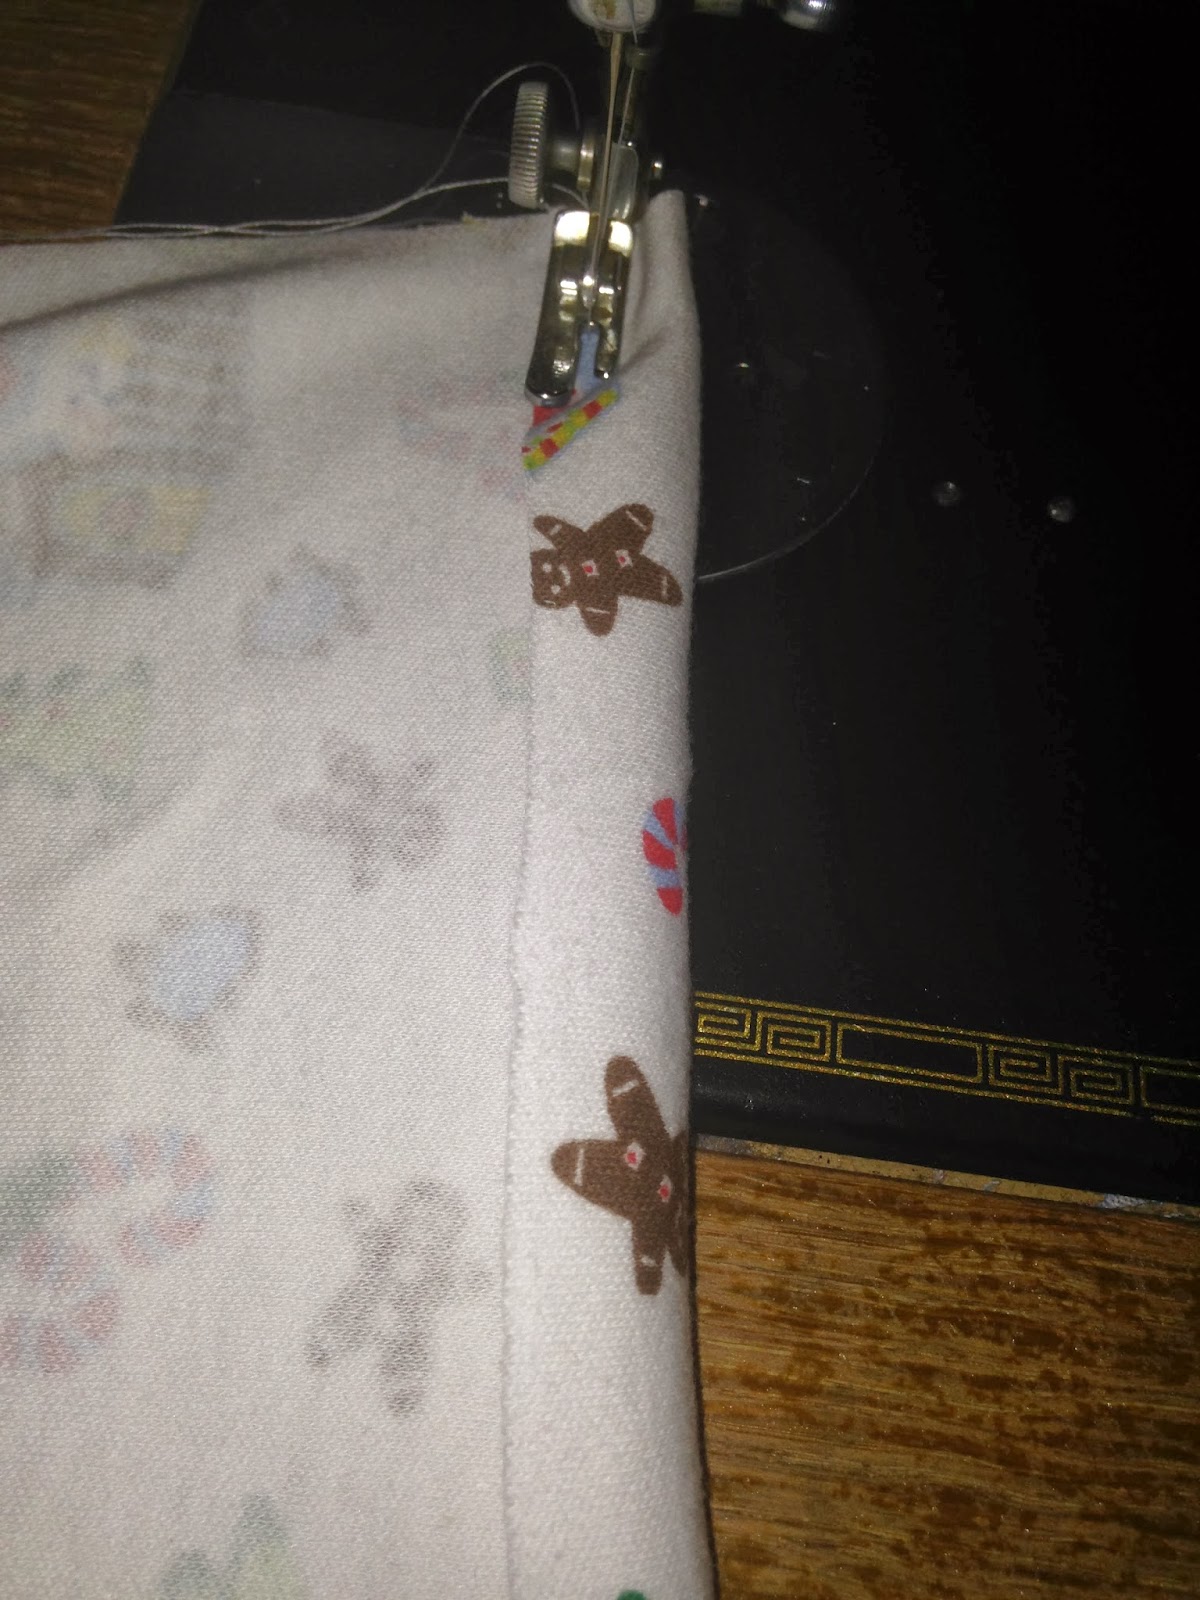
Sew bindimg for the neck in a tube the same way, stretch as you sew on.
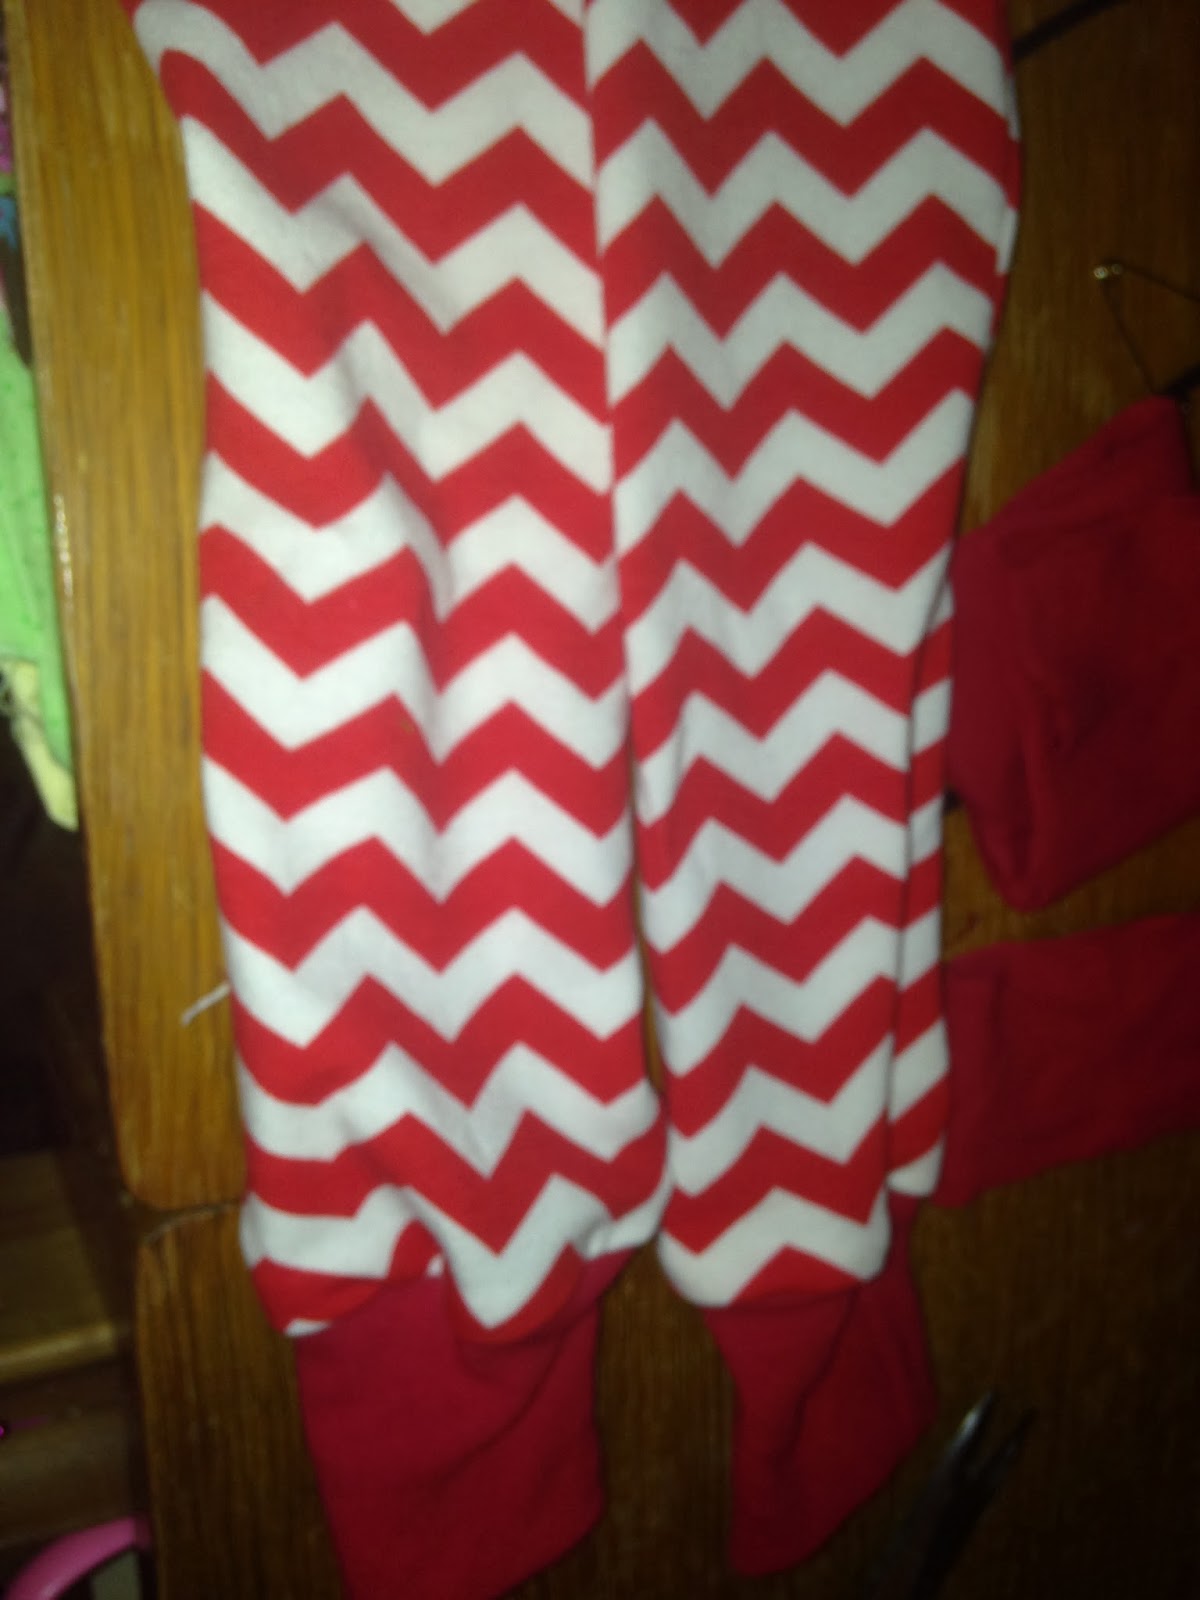
Finished jammies: